Creating the Casing
Lesson 12 from: How to Sew Your First Skirt and Understand PatternsShaerie Mead
Creating the Casing
Lesson 12 from: How to Sew Your First Skirt and Understand PatternsShaerie Mead
Lessons
Introduction & Overview of Skillset
01:00 2Pattern Envelope Overview
06:12 3Measuring Your Body
02:13 4Cutting out the Pattern
03:44 5Understanding Fabric Anatomy
02:02 6Cutting out the Fabric
08:25 7Cutting the Notches & Second Pieces
03:57 8Gathering Skirt to Yoke
11:18Lesson Info
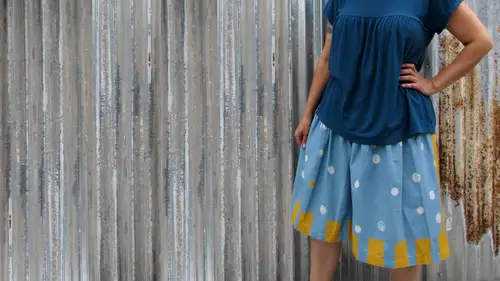
Creating the Casing
So now that we've had our skirt we're going to create the casing at the top of the skirt the casing is created in the same manner as the hem is a casing however has something inside of it in this case elastic so one of the things we need to be careful of is making sure that our casing is the same with all the way around and that width is wide enough to accommodate our elastic so think about him like the practice and this is the one where you have to measure straight press straight and so straight for your elastic to fit thie casing allowances also slightly different from the hem allowance it says here and step thirteen using your clear ruler in your chalk draw a line around the top raw edge of your yoke and this is one and a half inches down from the edge so I'm going to use my ruler and my chalk this time if I've got a two inch wide ruler I'm going to be looking at the one inch mark and then that extra half a niche so this is the line I'm going to be using a line that right up and thi...
s is exactly like marking around the bottom edge of the skirt I want to hold on nice and tight to my ruler and chalk with my chalk gently along the edge of the ruler right over here flip it around so I could do the same thing on the other side and I'm going to be folding and pinning and pressing exactly like I did for my hem on the bottom of the skirt for this first fold of my casing so folding this down so I can just see the chalk mark that I made and putting my pins in close to this fold edge same thing with the seam allowances on this side you want to make sure that they still point in the same direction this circumference is a lot smaller than the hem so it's not going to take quite a long to do your pending impressing as soon as you've got your pins in all the way around the top edge you can take it over to the iron and press it just like we pressed the baht image of him so now that we've completely pressed the top of our skirt we're going to do the second fold of our casing and this is a little bit more specific than the first fold so what I'm going to do is instead of taking this raj of the fabric and tucking it under the whole way I'm only going to be tucking it under a half an inch so if I start out with an inch and a half I'm going to set my seem gauge for one inch and then what I can dio is take a couple of pins out tuck that half an inch under and the remainder of my casing allowance should be one inch it's okay that's a little bit bigger, but you don't want to get any smaller than this, so that's what it's looking like I'm going to take my pins and put them back in this time I want my pins to be close to this edge rather than close to this edge so I can hold that in place and I'm going to press it again you want to make sure it doesn't move around after going around the whole top of the skirt and checking that one inch mark, you'll be able to eyeball it pretty effectively all the way around, pulling the pins out, talking under that half inch to leave one inch of casing are elastic is three quarters of an inch wide, so this one inch casing is going to fit are elastic perfectly with just a little wiggle room, so as soon as I'm done pinning, I'm going to take this over to the iron and I'm going to press it flat one more time, just like we pressed the hem along the bottom of our skirt. So the other difference between a casing in ahem, is that we're going to need to leave an opening when we so the casing so we have something to slide are elastic in through so on the back of the skirt remember we press the seam allowances towards the back so find the side of the skirt that the seam allowances are pointing towards somewhere in the middle of the skirt here you're going to want to give yourself about two inches here that are not going to be sown so I'm going to use my c engage and I'm going to use my chalk to make some marks on the back of my skirt that air about two inches apart just like that and this area is going to be where I don't want to. So so whatever you need to do to remind yourself not to so there we'll start out here stitching exactly like we stitched on the hand right up close to that fold this is where it's really important to make sure you're getting this close to that full duchess possible if you so too far in we're not gonna be able to fit your elastic so right on the very edge we're going to start with the back stitch right at this first shock mark so all the way around and then do a back stich at this second chalk mark right here so here's my mark coming up I'm going to stop and back stitch when I hit this mark now I want to make sure that I just sniff my threads off and then we can start to take a look at putting our elastic in
Class Materials
Bonus with Purchase
Ratings and Reviews
Diane
The course was as clean and precise as her sewing. I haven't sewn for some time, but the techniques Shaerie taught will serve me well. Thanks~
Jude
Shaerie is an exceptionally clear and focused teacher. She points out essential steps for beginner sewers and doesn't get caught up with extraneous details.
Melissa Fritzsche
Wondering if there's any way to still get this pattern. Thanks!