Lessons
Class Introduction: What is Light Painting?
03:45 2Camera Considerations
16:18 3Camera Settings and Initial Exposures
09:26 4Light Painting Accessories
04:05 5The Color of Light
05:21 6Focusing in the Dark
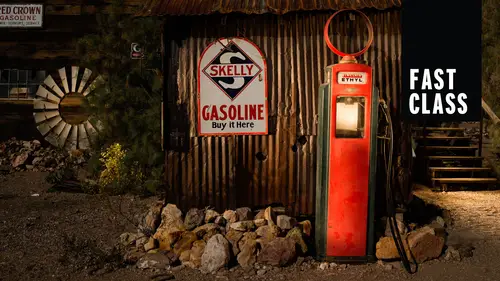
03:13 7Light Painting Techniques
08:30 8Lightroom: Basic Panel
14:14Lightroom: Presence Panel Adjustments
06:05 10Lightroom: Hue, Saturation, Luminance
05:17 11Lightroom: Local Adjustments
16:46 12From Lightroom to Photoshop
11:55 13Photoshop: Lighten Blending Mode
04:31 14Photoshop: Star Stacking
03:17 15Photoshop: Layer Opacity
03:25 16Photoshop: Selection and Masks
05:55 17Photoshop: Mask Adjustments
05:46Lesson Info
Photoshop: Lighten Blending Mode
now, after that big long detour, let's get back to what we're doing in the first place. And that was to open up these images and blend them together. All right, so what I could do with both images selected When I go photo at it in for the shop, they both should open up. So here we have two separate files. Now, this is great. I could combine them manually at this point by clicking on this one in dragging and dropping on that one and aligning, and I could do all of that. But that's manual labor and photo shops come a long way. So let's just get out of these for a second and return and show you the proper way to do this. If you want all of the images to be several images to be in one file, you select the two or the three or, in the case of these star trails, were select 10 or 15 of them, and we're gonna go photo at it in open as layers in photo shop. Now what this is going to do is it's gonna take both of those photographs and put them inside of one file, and that's precisely what we want...
. So now what we're thinking about when we come back to the idea of our print laying on the table and an acid Tate on top, what we've actually got is print laying on our table and then another print laying on top. Well, at this point, if we look down, we'd only be seeing the upper print. But we can do things to this. I could cut some of this out. I can change the opacity. I could change the way this blends with this, and that's what we're gonna do here with lightened blending mode. So now what you can see is, if we look to our layers palette, you can see that the brighter one is on top and the darker one is underneath. This is a print laying on top of another print. If I want to excuse me if I want to remove this print temporarily, I could just take the eyeball off, and we would be seeing to the print below if I put the eyeball back on. Now we're seeing the top layer and Onley the top layer. So at this point, what we have is a photograph with two pixel bearing layers in it, but we can't see them both. Yet the beautiful thing about layers and this is something photo shop or light room cannot at all accomplish is the different ways to blend one layer with another, and that we can do with something called the blending modes, which is right up here. And if I wanted a perfect blend of those two images together, I could choose something called lightened blending note. And what lightened blending mode is going to do is it's going to allow the brightest pixel from either one of these layers to show through. So in that way, I'm going to get all of the light painting that I did from the left hand side and all of the light painting I did from the right hand side, as if I did it all in one shot. So we'll go and hit Layton and you can see that brightened right up again. So now it's just zoom in and see what we've done. I'm gonna take this bottom layer off, which is the painting from the left, and you could see my shadows get darker when it's off and my shadows brighten up when I put it on. So again, that lightened blending mode, what it is done is taken both layers and said whichever pixels are brighter, allow them to show through. Now, the other cool thing about layers is you have the ability to change the opacity on the layer. So imagine this. Now, if, um, I'm just gonna flip flop east, and this won't make a difference at all to us. All right, So if I'm on this upper layer and I lower the opacity, you can see if I lowered all the way to zero. It's as if this layer does not exist. I'm amazed we'll just turned it off. But with the opacity, I could drag it up a little bit, are a little bit more. And as I do this, what I want you all to do is look into the shadows here. All right, just check out that shadow area as I move it up a little bit, a little bit more, a little bit more, and you can completely control the amount of fill light in your photograph by doing this. So again, going back to the idea the key light and the fill light. When I painted from miss hand from the right hand side camera right here, I painted full. When I walked over here and painted, I painted a lot less, just a little bit. I threw some light in there. This is my fill. And now I could control that fill by saying a lot of Phil Little Phil less Phil. No, Phil.
Class Materials
Bonus Materials with Purchase