Lessons
Class Intrduction
05:40 2Milky Way Image: Combining Exposures
04:32 3Milky Way Image: Simple Selections And masking
06:37 4Star Stacking: Combining Layers With Lighten Blending Mode
09:09 5Star Stacking: Layer Masks
05:06 6Car Trails: Merging Multiple Exposures
09:19 7Car Trails: Fixing Uneven Sky
08:38 8Light Painting: And Layering
03:12Lesson Info
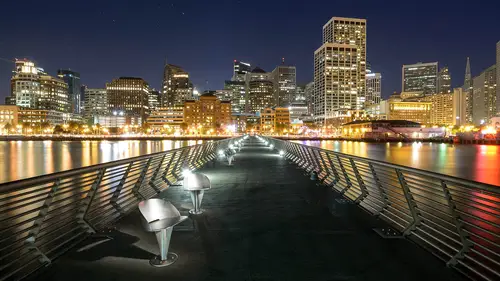
Light Painting: And Layering
So this is kind of my bread and butter. This is one of my favorite things to do at night to go out and photograph I love including the night sky But what I really love is like painting objects along with that night sky. And here is a classic example of of a like painting scenario. Once again, I don't have enough time to run through the entire scene and light paint. Uh, you know everything here, you can see this Bridges is enormous, and my exposure is only about a minute or two. And so I have to, like, paint all the way back into here. Plus all of these bridge towers plus up and here, Uh, so there's a lot to paint a lot going on. So once again, I just make multiple exposures, and I'll use that light and blending mode to put it all together. All right, so we take these three images and what we will do is we'll go to photo added in open as layers and photo shop. And now that our images air loaded up here, we're just gonna go through that same step again. Click on the top layer, click on t...
he bottom layer and I'll go from normal and change that to lighten and voila, all of the latest parts of this frame. As you can see, the latest parts of here, the later parts down here, they all come together in the final frame. Now, I'm kind of liking that, but there's a lot of things they don't like about it. Number one, I want this sky to be a different hue than the rest of the image. And so we can see here that everything is kind of got that pink orange kind of feel. So I'm gonna go to this image and let's just look at that sky. Notice how this guy has got some orange and blue in it, and then this guy is mostly orange. Let's see if we can't fix us up a little bit back in light room. I'm gonna close out of this and I do this fairly often. If I don't get it exactly right in late room the first time, I don't mind stepping back out of photo shop in returning the light room to fix it. In this case, what I'm gonna do is go to my develop module on this first image, and this image has got the better sky. So I'm gonna take my, um, temperature and I'm gonna cool that off a little bit. Make it somewhat more blue. All right. Now, as you all can see, that's got a little bit more blue ended And I think that'll make a nice contrast with the warmer bridge. All right, so we select those three images Now, I've got a bluer sky and then these air quite orange, and I'll grab these three and go photo edit in open as layers in photo shop.
Ratings and Reviews
Constantin Simion
Very good!!! Mr. Cooper presents simple Photoshop tools that can make a substantial improvement of the pictures in a way that everyone can understand.