Lessons
Lesson Info
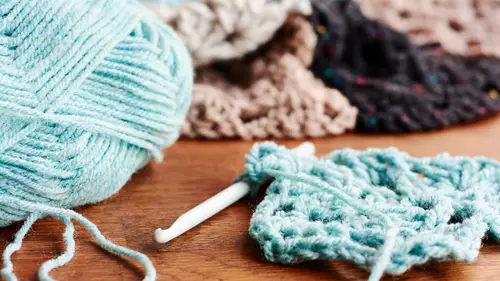
How to FP/BP Rib Stitch
There are several different ways that you can create rib stitch through crochet, but hands down, my favorite one is the front post and back post HDC or half double crochet rib. I just find that it's really flexible. I love sort of the texture, and the peaks and valleys that you see. You can also do this with double crochet, but I find that this gives a really nice fabric that's stretchy. So really good for, could be great for a beanie, but really also nice for bands for sweaters or wrist warmers, be really great for wrist warmers. This is just kind of my go to rib stitch. This looks a little like, bulky, because I've gone with a chunky yarn just for that lush look. But if you wanted something smaller, like if you were making a little, if you were making cuffs for a baby sweater or whatever, you would just use a finer yarn and a smaller hook. You'd still really be golden. So to begin it you are going to do a row of half-double crochet. You already know how to do this likely, but I'm jus...
t gonna give you a little refresher. So you start with the foundation chain, and then for that first row you're gonna work in the third chain from the hook. So you yarn over, insert that hook through the chain, yarn over, pull that through, and then we're gonna yarn over again and we're pulling through all three loops. Alright, from now on, we're just gonna work in each subsequent, sub sequential, chain. Working a half double crochet. So you would just continue doing that all the way to the end, and I have worked that out already. So this is your first row. So that first row is really just an establishing row. You haven't started any of the ribbing yet, but you need it because for this particular stitch that we're using, we're gonna be working around the post of the stitch instead of the loops of the stitch. And what that means is, I'm gonna create that height of the half double crochet, so I just chain two. But I'm gonna work in, this is front post HDC, that is a front post half double crochet, the abbreviations are on a list that is part of the bonus material, so don't worry about having to memorize all of that. There's also instructions for a practice swatch, also part of the bonus materials. So you can give this a try if you want. So we're gonna yarn over, and we're gonna half double crochet the way that we normally would as far as method goes, except instead of going under the two loops of the next stitch we're actually gonna go around the front of the post of the stitch. So the post is kind of like the body of the stitch. So we're gonna yarn over and we're gonna pull that loop through, and you can see that really pulls that, that's where you're getting that texture is it's pulling that fiber up to the front. So then you're going to yarn over again, and pull through all three loops. So that is a front post half double crochet. So ribbing is always alternating, right? That's how you get the flexibility, that's why it looks kind of accordion like. So now we need to do a back post half double crochet. So we've yarned over, because we're doing a half double crochet, but instead of going over the front of the post, we're gonna come around the back of the post. Yarn over, pull through, and you can see it does the exact opposite. It pulls the fabric back, it retracts it. Yarn over, pull through all three loops. That is a back post half double crochet. So you would just continue alternating that, front post, back post, and you would just do that all the way to the end of your row. I've already worked a full row, so I'm gonna pull that in. So this is what your, you'd be at the end of your row, this is what your piece looks like, already super flexy. You can see how different that looks from just having, I'm gonna pull this out, see how different that looks just adding that row, because you've worked around the post. It looks, it kinda looks kind of like a cool, knotty, like almost macrame like. But it really creates right away, by that second row, you start to really see that rib forming. So now we're gonna flip the piece over, let me just put my hook back where it belongs. We're gonna chain two, and now we're gonna do the reverse. So this would be the wrong side, and really all that means, if you don't remember, if you're like, oh gosh I don't remember which row an I on, just read the stitches, you see that the fabric is retracted like there's nothing sticking out there. So that means it's in the back, so that means we're working through the back of the post. So in the back side you're doing the exact opposite as the front side, we're gonna do back past half double crochet then front post, and alternate them. So that looks like this, you go around the post from the stitch below, back post half double crochet, then the next one is right here, this is a front one, go around the front, back, front, and so on and so on until you have crocheted up enough ribby goodness to make your mouth smile. Whatever you need to get done, you'll get done. And I love this, consider this also, this would actually be a super great, if you think of really chunky, chunky yarn, and you made it a big throw for your couch. It would be really textural and eye-catching. So this is a very versatile rib, fun to make, and it moves really quickly. Alright, well let's move onto the next thing.
Class Materials
Bonus Materials with Purchase