Lessons
Understanding White Balance, Color Balance, Hue & Saturation
10:31 2Manipulating Color Balance
02:28 3Working with Hue & Saturation
12:44 4Black & White Adjustment Layer with Tint
03:43 5Simple Color Correction
03:37 6Toning with Color Fills
05:56 7Split Toning with Gradient Maps
18:56 8Realistic Toning with Gradient Maps
05:58Lesson Info
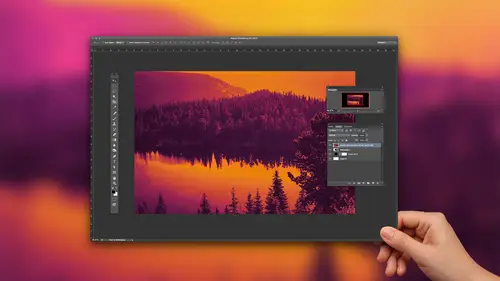
Simple Color Correction
all right. One other thing I want to point out here is that in the black and white panel adjustment layer, you also have the option to add a tent. So this is basically similar to the hue saturation where I showed you could color by color, eyes it and just wipe the color out and replace it. This is the same idea, but with additional options for fine tuning so you can change the tint. In this case, it's sort of another sepia look. But we could change that. Maybe we want, like a blue ice kind of, ah, picture. Do you a little something like that. So the way that works is, you just click on the box and then you get the color picker and the adobe color picker. You may look at this and be like, I don't know, there's not a whole lot of there's like, 16.7 million color possibilities in this box, so don't complain that you can't you have enough colors the way I suggest using this is two steps. Basically, I suggest that you take the huge lighter here and drag it to the the Hugh's own that you're ...
looking for. So if I want an icy blue, I'm gonna drag this to be about here. So I'm looking in the box to see where I'm kind of in the color range that I want, Then click within the box to select the saturation and brightness value that you want for that. So what you're doing when you do this is your adjusting your hue right here. The H stands for Q, the assets saturation and brightness. So I said it to a queue of 178 degrees and then by clicking, and here I'm choosing my saturation and brightness value on. But whatever color I pick is gonna load right here. And that's how you'll know what you've selected. These numbers and letters all over here. This is basically I like to think of it as a the United Nations of color language, so it's basically a global translator for color. So this particular color that I've selected right now has a huge value of 178 a saturation value of 69% and a brightness value of 84%. Let's say I love the color so much, I make it my in my logo. And now I'm working on a web design and I need that color on my web page, and I'm going to talk to my web designer. I can't just say, hey, you know, like, a really nice steal, uh, icy blue because they're like, What does that mean? Right, So you have to be able to give them specifics. And in the web, we talk about color using hex codes. So this color translated into hex code would be right down here so you could just say, Hey, this is the color and send them the six digits, and then they can reproduce that color free. Okay, so this is like the same color in five different languages. HSB, RGB l A B and C m I K. So they're all equal all the same thing. Just, you know, ones, French ones, Japanese and whatever. They're just different languages. All right, so whatever color we've chosen, we would click, OK, and then that becomes our tent. Okay, so that's the black and white, uh, filter here with a color tint, or you can not have a color tint
Class Materials
Bonus Materials with Purchase
Ratings and Reviews
Sara C. Madsen
Nice little class. Very basic. Perfect for beginners.
a Creativelive Student
Very, very basic. Strictly for beginners.
user-9f5c01
Khara is very personable and engaging. But I do think people should know this is NOT a color CORRECTION workshop. This is a basic course in that it provides a very brief overview of the pshop functions that can contribute to color manipulation. She does go most into gradient maps.