Lessons
Lesson Info
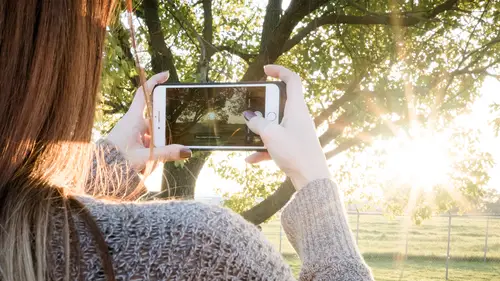
Finding Light
So let's talk about finding light really quickly. You can put away your phone and you can do that just with your eye. So Aubrey and I are going to go somewhere and we just happen to be in a garage. We're gonna look for beautiful light. The thing that you'll notice about this garage and the reason it looks so pretty was simply because it has light falling in a very specific pattern. So you always find that light that's front is always gonna be real flattened ugly. But in this case, when I walked into this garage, we saw light coming from this window and cross lighting, meaning it comes across from a from a left or a right position instead of from behind us. The other thing you'll notice about this room is that there's light coming from a window in the back coming toward us, and that's what's creating this light, this little patch of light on the ground and it's kind of coming across these bricks, and that's creating texture because the light is coming towards us, and now we see you know...
, light and dark and light, dark and light dark that creates this beautiful depth to the photograph. So always look for light that's coming from one side or the other or from the background forward, you're gonna find better light. Aubrey is gonna help me show you this process. So, Aubrey, come here. If we look at her and we put her really close to the window, we can really see this concept so turned towards me, Aubrey. So you can see light coming from the window over here, hits her face here. And then there's no light over here just kind of softer life. And so you can see that there is volume to her face. There's highlight and shadow. But as I turn her towards the window, the light becomes flat. And so now we have the same amount of light on the left side of her face, as we do on the right side of her face. And that creates a very flat picture, not quite as beautiful as something that has additional light. Now, as I turn her back and I stop her right about there, then we get a really good mixture of that where we get some light that's coming across from the left hand side. but a little bit of light sneaking around the other side of her face so that it kind of lights That side of the face is well now, artists and people in the know they call that Rembrandt lighting when you have light coming from over here. And then it sneaks around and creates a little corner of light right here on her cheek. The artist Rembrandt used to use that technique all the time in his paintings, and that's why we call it Rembrandt Lighting. But if you think of lighting in that way, as you're looking for beautiful light, you're gonna be much, much more successful at making really great photos, even with just your IPhone.
Ratings and Reviews
a Creativelive Student
This is a fast and very effective course. The teacher is excellent with his great teaching skills. Really recommended!
Kris
This course was quick and full of very specific ways to use the iPhone 7 Plus and its abilities. I only own an iPhone 6 and still found this class useful. Even though I've taken thousands of images with my phone I STILL learned a couple things I didn't know. If you have questions about your iPhone camera I would absolutely recommend this course. Well worth the money.
Vincent SMINK
Great class, with all the basics you need to take good photo's. Some interesting extra's that I wasn't aware off! Just start here and then move on!