Lesson Info
4. Capture One Interface Terminology
Lessons
Class Introduction
08:03 2Making your First Catalog
03:30 3Importing your First Images
11:25 4Capture One Interface Terminology
04:56 5Customizing your Workspace & Keyboard Shortcuts
26:11 6How to Locate your Images After Import
11:24 7Virtual Organization
08:28 8Basic Tool Behavior
08:28Basic Workflow Operations
11:39 10Essential Tools Overview: Exposure and Curves
09:36 11Adjustment Tools Overview: Levels, Clarity, and HDR
14:44 12Color Tools Overview
14:42 13Lens Corrections
06:59 14Exporting
05:55 15Overview of Process Recipes
10:44 16Adding Keywords to One or Multiple Images
06:59 17Managing a Keyword Library
08:40 18Adding Keywords and Metadata on Import
04:16 19Overview of Filtering and Searching
08:55 20Importing your Existing Application's Library
06:07Lesson Info
Capture One Interface Terminology
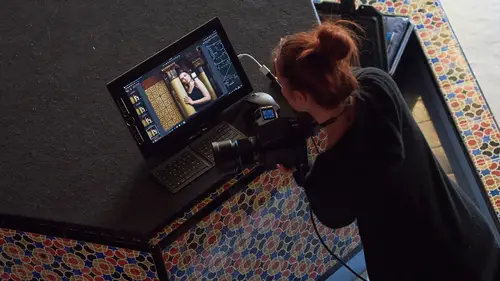
So now that we've got images into our catalog, we can explore the interface a little better now as well. It's pretty hard to explore the interface when there's no images in it, so that's why it's good to do that first step. So CaptureOne, I should mention before we look at the software in itself, it's not a modal piece of software, which might sound strange. But it does not have, if we think about Lightroom, for example, it doesn't have a library mode, it doesn't have a develop mode, it doesn't have maps mode, et cetera, you can do anything at any point in CaptureOne. So if you are a Lightroom user, don't go looking for these kind of different tabs, which allow you to do different things. You can at any point browse the library in CaptureOne. At any point make an export. At any point do some adjustment or developing as you might know it. So there is no mode. So it's like one flat interface, which is good to appreciate. And I guess we can split the interface up into probably four differ...
ent sections. Over on the left we have all our various different tools and they are divided into these, if I just zoom in a little bit. They are divided into these which are the tool tabs. So the tool tabs contain tools. Pretty easy concept to grasp I would hope. The contents of each tool tab relates to its icon or name as such. So for example, this is an exposure tool tab and it has tools in it pertaining to exposure. This is a color tool tab and it has tools in it pertaining to color. Now when we come to a later lesson, we'll actually talk about customization and how you can move everything around. What you're looking at here is pretty much the out of the box default workspace. So on the left, tools and tool tabs. In the center we have the viewer, which allows you to view the currently selected image or images from the browser. So for example, if I was to shift select four images, then we would see four of these images in the viewer as such, but the viewer is simply for viewing images. On the right hand side we have the browser. So again by default it's over on the right and this of course contains all your various different thumbnails, which you can browse through, use your cursor keys for example to move through as well. And again, shortcuts is something we'll cover in an upcoming lesson too. Up on the top is the toolbar, which is divided into sort of two primary functions. The first function is that it has these various different action buttons you can see at the top. Some of those we'll look at in this course. Pressing one of these buttons does some kind of action, like turning on grid lines for example or turning on exposure warnings. In the center, which is different to the way Aperture or Lightroom behaves. This changes the behavior of the cursor. So if I select the first one, this is my pointer. If I select the second one, this is the pan tool which allows me to double click, zoom into 100% and move around the image. So they change the behavior of the cursor. And to give you a third example, the crop tool, if I then had the crop tool up I could draw a crop around my image. That's a big strange. There we go. I could draw a crop around my image like so. So those various different tools change the behavior of the cursor itself. And again, some of those various different cursor tools we look at in today's lesson as well. Preferences as you briefly saw are held up here in the Preferences menu and this gives you loads of influence again on the interface which we'll cover in a different lesson as well, in an upcoming lesson. But if there's anything else that you're curious about in CaptureOne or that you wanna change to be more familiar in itself, then Preferences is also a good place to look as well. So in summary, tools and tool tabs, viewer in the center, browser on the right hand side, toolbar at the top and then the cursor tools in the center, which change the behavior of the cursor itself.
Ratings and Reviews
Juan Sebastián Echeverri
This class is a great introduction to Capture One. David covers the CO environment including the basics of tools, tool tabs, toolbar, cursor tools, action buttons, the viewer, and the browser. It includes some useful shortcuts and best practices for an efficient workflow.
Dan Donovan
A comprehensive overview of Capture One. David does a FANTASTIC job of getting you started with Capture One!
user-940746
David is extremely well versed in CaptureOne Pro and he has the ability to share his knowledge in a way that is easy to follow and understand. My time in the audience was well spent, increasing my knowledge of CaptureOne basics. I would particularly recommend this class to anyone who is relatively new to CaptureOne or who is considering making CaptureOne part of their photo editing process.