Scanning & Creating a Watercolor Brush
Lesson 4 from: Creating Custom Photoshop BrushesBrandon Rike
Scanning & Creating a Watercolor Brush
Lesson 4 from: Creating Custom Photoshop BrushesBrandon Rike
Lesson Info
4. Scanning & Creating a Watercolor Brush
Lessons
Lesson Info
Scanning & Creating a Watercolor Brush
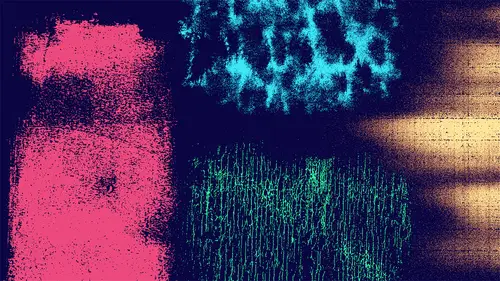
So let's scan in more stuff. I choose the water cover. Let's use Yeah, let's use the water. Car. What color? One. If you don't name all your stuff, try to start naming it. Because it's just you're gonna have to look back in these files and try to reference things, and you're gonna have a mess. So it's best practice to sort of sorters. Name all these as we go. Okay. Skating this end are bringing in a photo shop. Now what I wanted to do here Waas I want to just who needs his last O'Toole? We'll put a little feather on it. I put like a 25 pixel feather. I'm gonna select the end side of this. This one's gonna be one of those real subtle ones. Copy that. Let's go to a new 5000 by 5000 picks. So we don't need 600. Well, good rgb. Okay, so let's paste this in. So this is the positive of it. Sen. Burdett, Now let's pull out. Let's get the blacks really black. Maybe the whites a little wider. Just find the balance in there. Let's go back to sharpen. Smart, sharp, sharp in I actually like that. ...
Okay, Now I'm emerges to together these two layers together, and this isn't a brush yet because I have to invert it. Coz brushes black on white. So it's not gonna If I use this as a brush, it's gonna be a big black square that keep pasting. And that's not gonna be a very good brush. So I just invert this. So now I have this subtle little brush. Um, we will. We will to find brush seat preset. Call this CEO water color one. Okay, so that's been added to our Russia. So let's go back to Cravin. Let's just try again. Let's Teoh on another lettering course. We created the word wash away. So, like, watercolor, let's take this in wash away. So I did where there was a magic wand and I selected it, and I put her on a new layer. That seems to be the easiest way that I can manipulate stuff and photo shop because I'm an illustrator guy using photo shop, and I don't get too carried away with some of the, you know, ins and outs of Photoshopped because it just makes everything more about Grady INTs and stuff and I'm I don't want to do that. So saturate this thing down, just give it a good vibe. Let's make it a little like, uh, I don't know right on the background. Take that saturation down. Just something I love when I feel like I'm talking like Bob Ross. It's my hero. Okay, so that brush is a little too big cited shoes the bracket and go down. So with the black on layer mask, let's take away with this watercolor brush and we can get even tighter. Let's delete this layer mask and try again. Let's get even tighter with this little water cover because I do want to get these little. So that's one way to go about doing it. You see there's a texture in there and there's a story, and you can know that if you see this in a magazine that that texture came from your little water color, and I think that's pretty cool
Class Materials
Bonus Materials with Purchase
Ratings and Reviews
Jo Sparrow
Great class. Easy to follow and eye opening! I made about 30 brushes during this workshop! I followed along with the texture making and easily uploaded them and converted them into usable Photoshop brushes.
Gunay Tariverdiyeva
Student Work
Related Classes
Design Projects